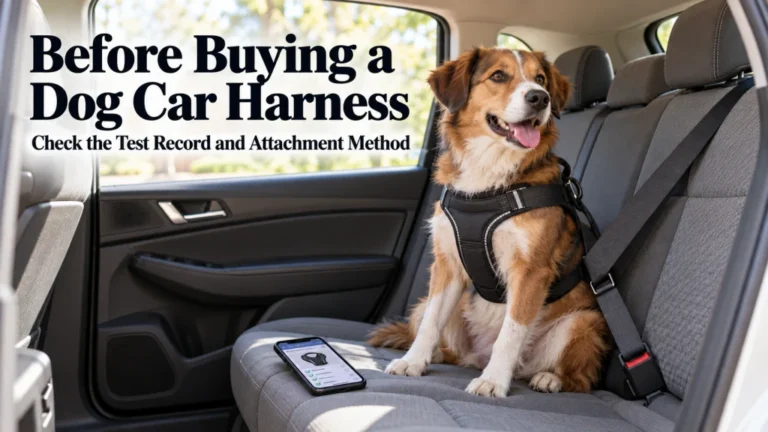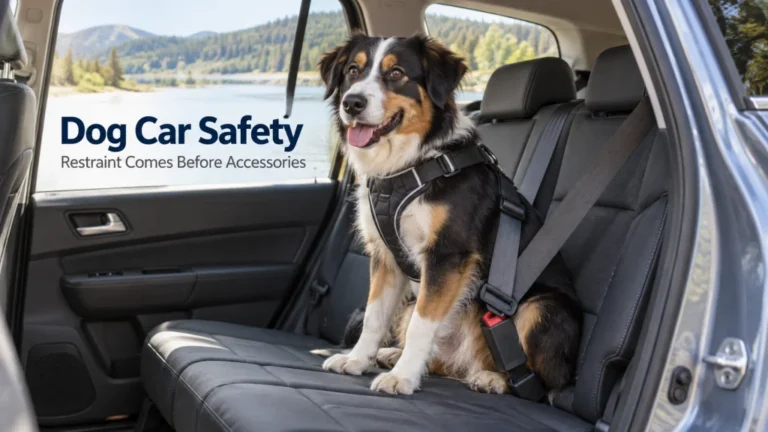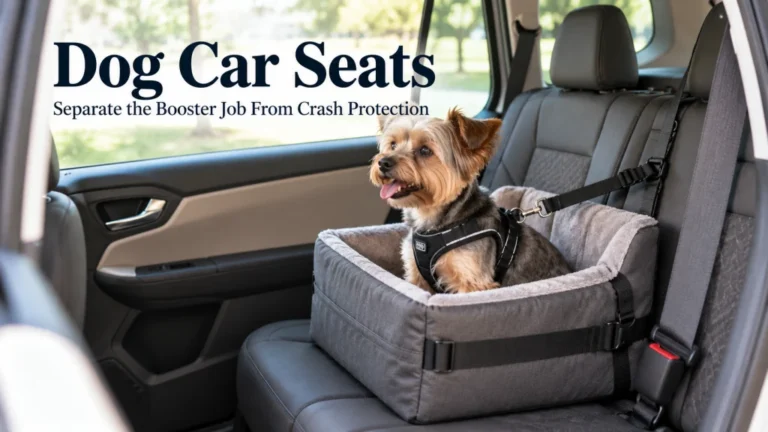
A dog seat belt is not just the metal piece that clicks into a vehicle buckle. The body worn restraint, connector, vehicle belt or buckle point, and the way those parts are routed work as one restraint system. If crash protection is the priority, use the exact connection method supported by the restraint instructions and independent evidence, and do not add an extension tether or zipline just to give the dog more movement. This guide shows how to identify the parts in your setup, reject weak assumptions, and verify compatibility before your dog rides.
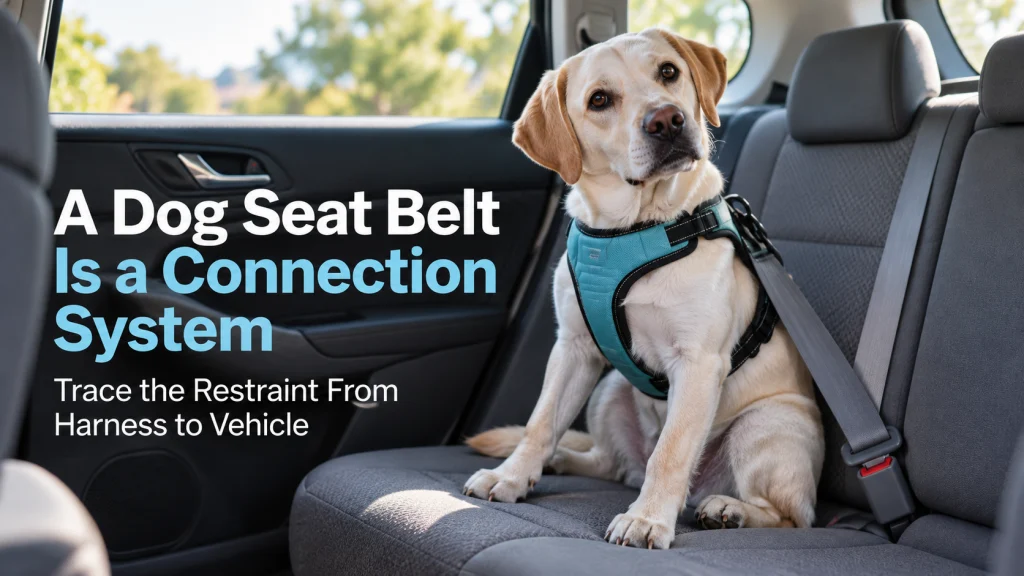
Identify every part between your dog and the vehicle
A dog seat belt can describe several very different setups, so start by tracing the connection from your dog’s chest to the vehicle rather than judging the system by the buckle alone. One setup may route the vehicle belt through a travel harness, while another may use a separate strap that clips from a harness to a buckle insert. Those arrangements can look equally tidy in the back seat while relying on different hardware, geometry, and evidence. The useful question is not simply whether the dog is buckled in, but whether every part is being used in the configuration that supports the safety claim.
This connection check belongs inside a larger dog car travel setup, where seating position, access, loading, and restraint all work together. It also fits the broader decisions involved in traveling with a dog, because a restraint only helps when it is appropriate for the dog, vehicle, and trip routine. I would write down the connection path in plain language before buying or changing anything: dog to harness, harness to connector, connector to vehicle. That simple map makes it much harder for a convenient accessory to quietly replace the configuration that was actually evaluated.
| Part to inspect | What to verify | Why it matters |
|---|---|---|
| Body worn restraint | It is intended for vehicle restraint and fits the dog correctly | The load should not be treated like an ordinary leash load |
| Connection method | It matches the instructions and evidence for that restraint | Changing the connector changes the system geometry |
| Vehicle attachment point | The belt path or buckle point is actually compatible | A connector that clicks in is not automatically an approved setup |
| Added accessories | No unsupported extension tether, zipline, or extra adapter has been added | Extra travel can change how the dog moves under sudden load |
Use the table as a verification sequence, not as a shopping checklist. Start at the dog’s body and move toward the vehicle so each connection is accounted for in order. If one row cannot be confirmed from the restraint instructions, vehicle information, or independent evidence, treat that uncertainty as part of the decision rather than filling it with an assumption. A missing answer is a reason to verify the system, not a reason to assume two similar looking parts are interchangeable.
Start with the body worn restraint rather than the buckle insert
The first component to evaluate is the restraint on the dog, because the vehicle connection cannot compensate for an unsuitable body attachment. A regular walking harness may control a dog well on a sidewalk but that does not establish how it performs under vehicle crash forces. A product described as a car restraint should provide clear instructions for fit, routing, and vehicle attachment, and any safety claim should be tied to evidence for that exact configuration. If those details are missing, a shiny buckle tongue or thick strap should not be treated as proof.
Fit also changes the practical result even when the connection method is correct. A loose chest section can allow excessive movement, while a poorly positioned strap can create pressure where the restraint was not designed to carry it. The separate guide to choosing and fitting a dog car harness owns that body fit decision in more detail. Here, the key point is that the dog seat belt starts at the dog’s body, not at the vehicle buckle.
- Confirm that the harness is intended for vehicle restraint, not only walking.
- Check the exact fit instructions for your dog’s size and body shape.
- Identify the connection method the restraint documentation actually specifies.
- Do not assume an accessory from another system preserves the same performance.
If the body worn piece is uncertain, solve that before comparing buckle inserts or convenience straps. Check the intended vehicle use, fit range, attachment points, and routing instructions first. A correct connection attached to the wrong restraint is still the wrong system. Once the body restraint is confirmed, the vehicle connection becomes a narrower and more useful compatibility question.
Separate vehicle belt routing from an aftermarket buckle tether
A vehicle seat belt routed through or around a restraint is not the same thing as a short strap with a buckle tongue on one end and a clip on the other. The first uses the vehicle belt as part of the restraint path specified by the harness design, while the second adds a separate connector between the dog and the vehicle. Both may be casually sold or described as a seat belt for dogs, which is why category language alone is not enough. Whether a listing says dog seatbelt or dog safety belt, the label still does not tell you which connection method is supported. The attachment method has to match the instructions and evidence for the restraint you are relying on.
That distinction becomes especially important when a buyer already owns a harness and sees a buckle tether as a simple upgrade. The tether may fit the vehicle buckle and may keep the dog from walking into the front seat, but convenience restraint and demonstrated crash protection are not interchangeable claims. I would treat a buckle insert as a compatibility detail only after verifying what the body worn restraint requires. If the harness instructions call for vehicle belt routing, adding a different buckle strap creates a new setup rather than a harmless variation.
| Setup | What connects to the vehicle | What the owner must verify |
|---|---|---|
| Vehicle belt routing | The vehicle belt passes through the restraint as directed | Exact routing, fit, belt position, and restraint instructions |
| Buckle tether | A separate strap clicks into a vehicle buckle | Whether that exact tether is part of the supported restraint configuration |
| Added adapter | An extra part changes the original connection path | Whether the restraint maker and evidence support that added part |
The safest reading habit is literal: follow the connection shown in the instructions instead of translating every mention of a dog safety belt into the accessory that looks most familiar. Compare the diagram or written routing with what is actually installed in the rear seat. Similar hardware does not make two restraint systems equivalent. If the route in the vehicle is different from the documented route, stop and verify before treating the setup as supported.
Do not attach a vehicle restraint connection to a collar
A collar is useful for identification and ordinary leash handling, but it should not become the load bearing point for a car restraint connection. Sudden vehicle movement can create forces far beyond the gentle control expected during a normal walk, and concentrating that load at the neck is the wrong direction for a restraint system. A seat belt for dogs should connect through the body worn vehicle restraint specified for that system. If the only way a tether can be used is by clipping it to the collar, stop and change the setup rather than improvising.
This is also why a dog wearing both a collar and a travel harness needs a clear division of jobs. Keep identification on the collar if that is part of your routine, but route the vehicle restraint only through the attachment points intended for the car system. Do not clip both pieces together because it feels more secure, since adding hardware can change load paths and create tangles. The goal is a simple, documented restraint path, not the greatest possible number of clips.
Warning: Do not use the collar as the vehicle restraint attachment point. Use the body worn restraint and connection method specified for car travel. Keep the collar for identification or ordinary handling rather than crash restraint loads. If the vehicle connection cannot reach the intended harness point without using the collar, the setup needs to change.
After checking the attachment point, look at what happens when the dog changes position naturally. The connection should remain on the intended harness point as the dog sits, lies down, or turns within the movement allowed by the restraint. It should not migrate onto the neck, wrap around a leg, or depend on a collar to keep the harness in place. If normal movement repeatedly changes the connection path, recheck fit and routing before using the setup for travel.
Avoid extension tethers and zipline setups that add uncontrolled travel
Extra movement can look comfortable in a parked car, which makes extension tethers and zipline arrangements appealing. The problem is that more travel before the restraint engages changes how far and how fast the dog can move during a sudden stop or collision. Center for Pet Safety advises against extension tethers and zipline accessories because the added movement can undermine the protective value of a harness configuration. If crash protection is your priority, do not add length just to let the dog cross more of the seat.
This does not mean the dog should be compressed into an unnatural posture or that every restraint allows the same position. It means comfort has to be achieved inside the fit and connection range supported by the exact system rather than by adding an unsupported extension. A dog should be able to settle in the position allowed by the restraint instructions without reaching the driver or becoming tangled. If the approved setup does not work for your dog’s body or your vehicle layout, a different restraint class may be a better answer than modifying the connection.
Add a longer tether or zipline because the dog seems happier with more freedom across the back seat.
Keep the documented restraint connection and choose a different verified harness, carrier, or travel crate route if the current setup does not fit the dog or vehicle.
The practical test is simple: if an accessory changes how far the dog can travel before the restraint loads, it is not merely a comfort accessory. It changes the restraint geometry and needs its own supporting evidence. More freedom in a parked car does not establish better protection in motion. When evidence for that added movement is missing, keep the supported connection or choose a different restraint system that fits the dog and vehicle without improvisation.
Keep the exact connection used when you rely on a crash protection claim
A crash protection claim is only useful when you know what was actually evaluated. The restraint size, fit, connection route, vehicle belt use, and any included hardware all matter because testing applies to a configuration, not to a product name floating free of setup details. Swapping the supplied method for an extension strap, alternate buckle insert, or improvised anchor can create a system that was never represented by the original evidence. When the documentation is unclear, narrow the claim instead of assuming the new arrangement performs the same way.
Center for Pet Safety maintains a current certification program for vehicle restraint products, which gives owners a stronger starting point than marketing language alone. Even then, certification should lead you back to the exact product instructions, because the supported setup is part of how the restraint is meant to work. The broader dog car safety decision also includes choosing among a harness, carrier, or travel crate based on the dog and vehicle. A dog car seat belt should therefore be evaluated as one connection route inside that larger restraint decision, not as a universal accessory.
- Match the restraint model and size to the documentation you are reading.
- Use the stated vehicle connection method rather than substituting a familiar accessory.
- Reject add ons that are not supported by the restraint instructions or independent evidence.
- If crash protection matters most, move to a verified restraint class instead of inventing a hybrid setup.
This approach may feel stricter than simply asking whether a clip fits, but it prevents a common category mistake. Physical compatibility answers only whether the parts can connect, not whether that connection preserves the safety evidence. A compatible piece of hardware is not automatically a supported crash restraint configuration. Treat documentation and independent evidence as the deciding layer when the claim involves crash protection.
Check buckle shape, routing, and vehicle compatibility instead of assuming a universal fit
Vehicle interiors differ, and a connector that works cleanly in one rear seat may not work the same way in another. Buckle recess depth, belt path, seat contour, anchor location, and the way the restraint sits against the seat can all affect whether the documented setup can be reproduced. A buckle tongue clicking into place only proves that it physically engaged the latch at that moment. It does not prove that the restraint maker supports that vehicle connection or that the geometry matches the evaluated configuration.
Before using any connector, compare the restraint instructions with the actual seating position where the dog will ride. Check whether the belt can follow the required path without twisting, whether the buckle remains accessible without forcing the restraint sideways, and whether the dog can settle without loading the connector at an odd angle. If the product documentation lists compatibility limits, treat them as hard boundaries rather than suggestions. When vehicle specific information is required, verify it through the restraint maker or vehicle documentation instead of guessing from appearance.
Key point: “Universal” is not a substitute for documented compatibility. A broad fit claim may describe hardware engagement without answering how the full restraint performs in your seating position. The useful question is whether your exact restraint and vehicle can reproduce the supported connection path. If that path cannot be reproduced cleanly, choose a different supported setup rather than forcing the hardware to fit.
Once the setup is installed, inspect it with the dog in a normal riding position before driving. Watch how the belt, harness, and connector sit when the dog settles naturally in the rear seat. The system should stay routed as intended without relying on a seat crease, loose accessory, or improvised knot to keep it in place. If ordinary movement pulls the route out of position, the installation needs another compatibility check.
Replace damaged webbing, deformed hardware, or unsupported modifications
A restraint can start with the right design and still become questionable after wear, damage, or modification. Inspect webbing for cuts, heavy abrasion, pulled stitching, or areas that have become unusually thin, and check metal or plastic hardware for cracking, bending, or deformation. Also look for homemade knots, added clips, sewn alterations, or replacement parts that are not identified by the manufacturer. If a safety sensitive component no longer matches the documented system, do not treat it as equivalent just because it still closes.
Replacement decisions should follow the manufacturer guidance for the exact restraint, especially after a collision or any event that may have loaded the system heavily. Some damage is obvious, but not every compromised part will announce itself with a dramatic break. I would rather retire an uncertain connection than preserve it because the buckle still clicks. The restraint should remain a known system from the dog’s body to the vehicle, not a collection of parts that accumulated over time.
- Inspect the full webbing path, not only the visible buckle end.
- Check stitching, adjustment points, clips, loops, and vehicle connection hardware.
- Remove unsupported adapters or modifications rather than stacking more parts onto them.
- Follow the exact maker guidance for replacement after damage or a significant loading event.
Routine inspection closes the loop on the connection system idea. Check the restraint as a whole instead of looking only at the buckle that is easiest to see. Buying the right restraint once is not enough if later wear or accessory changes quietly turn it into a different setup. Keeping the system documented, intact, and unmodified is part of maintaining the same restraint decision over time.
Final thoughts: the connection is part of the restraint, not an afterthought
The most useful way to judge a dog seat belt is to trace the entire path from the dog’s body to the vehicle and ask whether every part belongs to the supported configuration. A buckle insert can be convenient, but the click itself says nothing about crash protection. The body worn restraint, connection method, vehicle geometry, and compatibility all have to make sense together. That is the difference between a restraint system and a loose collection of accessories.
If crash protection is the priority, keep the documented connection, avoid extension tethers and zipline additions, and move to a verified harness, carrier, or travel crate route when the current setup does not fit. Recheck the instructions whenever you change vehicles, restraint size, or connection hardware. The next step is not to find the most complicated setup, but to choose one you can verify from end to end. Simple and supported beats flexible and improvised.
FAQs
🚗 Is a dog seat belt the same as a car harness?
No. The harness is the body worn restraint, while the phrase dog seat belt may refer to the vehicle connection, a buckle tether, or the whole restraint system. Check the exact instructions so you know which parts are meant to work together.
🔒 Does clicking a tether into the car buckle mean it is crash tested?
No. Physical engagement with the buckle only shows that the hardware latched. Crash protection claims need evidence for the exact restraint and connection configuration being used.
🐕 Can I connect a dog safety belt to a collar?
Do not use the collar as the vehicle restraint attachment point. Use the body worn car restraint and the connection point specified by its instructions.
🧷 Can I add a longer tether so my dog can move around more?
Not when you are relying on the original restraint for crash protection. An extension changes how far the dog can travel before the restraint loads, so use only a connection supported by the system evidence and instructions.
📘 What should I check before using a dog car seat belt in a different vehicle?
Recheck the required belt path, buckle access, seat geometry, and any stated compatibility limits. Do not assume that a connector working in one vehicle means the same setup is supported in another.
🛠️ What if the restraint webbing or hardware is damaged?
Stop relying on the damaged part and follow the exact manufacturer replacement guidance. Do not repair or substitute a safety sensitive component unless the maker explicitly supports that method.
References and sources
- Center for Pet Safety extension tether advisory: Supports the warning against extension tethers and zipline connections that add unsupported travel to a vehicle restraint system.
- Center for Pet Safety certified products: Provides the current independent certification framework for qualifying vehicle restraint products.
- Cornell University College of Veterinary Medicine car travel guidance: Supports restraining dogs in vehicles and points owners toward independently evaluated harness, carrier, or travel crate options.