A senior dog home safety checklist should follow the routes your dog actually uses, not a generic room by room shopping list. Watch how your dog moves between rest, water, food, doors, family spaces and the bathroom area, then mark repeated slips, blocked turns, difficult level changes and confusing route cues. Prioritize failures that could cause a fall, prevent access to an essential resource or repeatedly stop the dog from completing a normal routine. The checklist should tell you where the home is failing your dog, while new or worsening mobility, pain, weakness, disorientation, vision or hearing changes belong with a veterinarian.
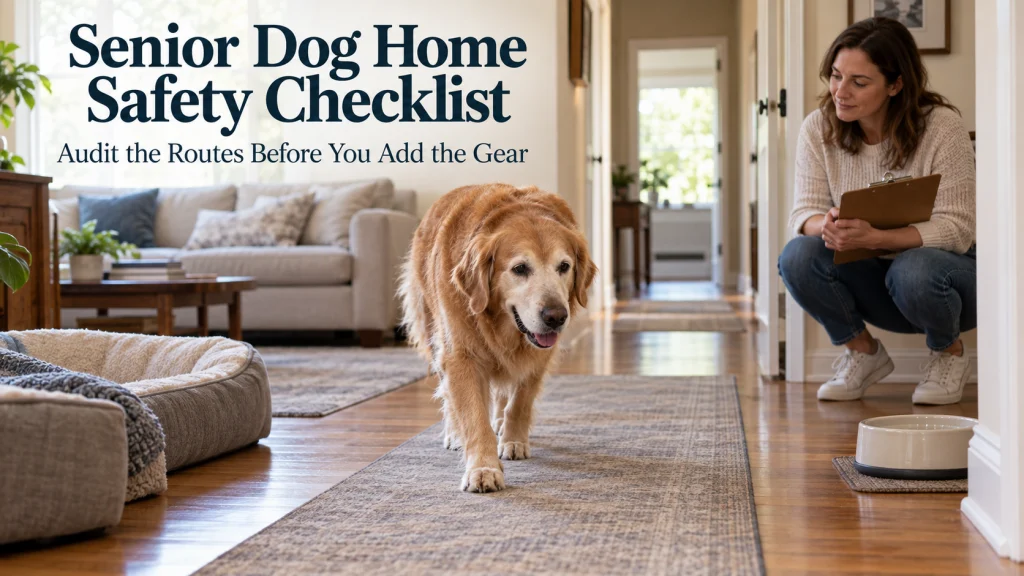
Audit one normal day before changing the house
A senior dog home safety checklist is most useful when you start with movement, not gear. Follow the routes your dog already chooses during an ordinary day and note where the movement changes, stops or becomes less confident. Keep the broader needs in caring for an older dog in mind, but use this audit to identify the physical places that deserve attention first. Once you know which route is failing, the larger system of senior dog home modifications can help you match that failure to an appropriate change.
Do not give a single hesitation a medical label or turn the checklist into a homemade risk score. A dog may pause because of footing, a narrow turn, a new object, poor contrast, a noisy appliance or a physical problem that needs veterinary assessment. What matters for the home audit is whether the same place repeatedly interrupts a route the dog needs to use. Record the location, what you observed and what the dog was trying to reach, then compare that pattern with the rest of the house.
Trace the routes between bed, water, food, door and family spaces
Begin with the shortest paths that connect the resources your dog uses most. Watch the route from the main resting spot to water, from water to food, from rest to the exterior door and from those points to the room where the household spends time. Look for detours, repeated stops, sharp direction changes or places where the dog waits for help. A room can look comfortable on its own while the doorway, hall or turn that connects it to the next resource creates the real problem.
Use the worksheet below to describe a route in functional terms rather than judging the whole room. The goal is to make the repeated path visible enough that you can compare one failure with another. If the dog can reach a soft bed but cannot cross the slick strip of floor beside it, the floor segment deserves attention before the bed itself. This route view also prevents you from changing spaces the dog rarely uses while missing a short path crossed many times.
| Route | What to watch | What to record |
|---|---|---|
| Rest to water | Footing, turns, obstacles, bowl access | Where pace changes or help is needed |
| Rest to exterior door | Thresholds, steps, door clearance, lighting | Where the route stops or becomes uncertain |
| Food to family space | Clutter, tight passages, slippery segments | Repeated detours or hesitation points |
| Night route | Visibility, contrast, familiar landmarks | Places that are easy by day but difficult in low light |
After tracing the routes, make one pass through the rooms and transition areas those routes cross. Mark an item only when you can point to something observable, such as a sliding rug, a narrow turn, a difficult threshold or a resource the dog cannot reach comfortably. Use clear for a route that works, issue for a repeated problem and not used for an area the dog does not normally enter. The completed sheet should leave you with a short list of specific places to address rather than a vague impression that the entire home needs modification.
| Area | Check on the route | Status | What did you observe? |
|---|---|---|---|
| Entry and hallway | Door clearance, thresholds, clutter, turns and footing | Clear / issue / not used | ____________________ |
| Kitchen and dining area | Hard floor traction, food and water access, tight furniture gaps | Clear / issue / not used | ____________________ |
| Living or family room | Main walking line, rug stability, furniture corners and resting access | Clear / issue / not used | ____________________ |
| Bedroom or main rest area | Bed entry, space to turn, floor grip and path to the door | Clear / issue / not used | ____________________ |
| Stairs and landings | Approach traction, access control, lighting and clear landing space | Clear / issue / not used | ____________________ |
| Exterior door and bathroom route | Threshold, steps, waiting space, surface changes and return path | Clear / issue / not used | ____________________ |
| Deck, balcony or pool access | Unsupervised access, barriers, edges and route approach | Clear / issue / not used | ____________________ |
| Night routes | Lighting, contrast, familiar landmarks and unexpected obstacles | Clear / issue / not used | ____________________ |
Key point: A route problem belongs on the checklist when it affects access, stability or predictability, not simply because a room looks less comfortable than another room.
Check every hard floor segment for slips, splaying or hesitation
Hard flooring deserves a route level check because the difficult area may be only a few feet long. Watch the paws when the dog starts moving, stops, turns, rises from rest or approaches a doorway, since those transitions can reveal a surface that is harder to manage than a straight walk. Repeated slipping, feet spreading outward or a dog choosing the wall edge instead of the center of the floor are useful observations to record. They do not tell you why the movement changed, but they do tell you which segment is interrupting the route.
Before covering a large part of the house, identify the exact strip that repeatedly causes trouble and see whether the route can be made more stable with a targeted change. A runner that slides, curls at the edge or creates a new trip point can trade one problem for another, so stability matters as much as added grip. If hard floor traction is the main failure, use the dedicated guidance on a dog slipping on hardwood floors to work through that specific decision. Keep the fix limited to the section that fails first, then watch the same route again to see whether stability and access actually improve.
Check stairs, pools, balconies and drops for unsupervised access
Level changes deserve a separate pass because the consequence of a mistake can be greater than a brief pause on flat flooring. Check whether the dog can reach stairs, a pool area, a balcony edge, a raised deck or another drop without someone noticing. Also inspect the approach, because a slick landing or tight turn before the first step can be part of the hazard. The checklist should record both the access point and the route that leads into it.
Do not assume that a dog who has always used a staircase safely will continue to handle the same setup in the same way. Changes in mobility, vision or hearing can alter how predictable an old route feels, and the safe response may include restricting unsupervised access while the situation is assessed. Gates and barriers only help if they are stable, correctly fitted and placed where they do not create another obstruction in a frequently used path. If the dog suddenly struggles with stairs or shows a meaningful change in movement, the next step is veterinary assessment before you try to explain the cause at home.
Check thresholds, tight turns and clutter at the dog’s body height
Walk the route at the dog’s level and look for obstacles that are easy for a standing adult to ignore. Raised transitions, door tracks, baskets, cords, bags, furniture corners and narrow spaces can force a dog to lift the feet higher, squeeze the body or change direction abruptly. A large dog may be bothered by a turn that a small dog clears easily, while a dog with reduced vision may rely more heavily on a stable path that does not change from one pass to the next. Record the obstacle itself and whether the dog changes pace, brushes against it or chooses another route.
Clutter control is often a better first move than adding equipment because it can restore a familiar line of travel without asking the dog to learn a new setup. Keep commonly used paths consistent, especially when vision or orientation appears less reliable than before. If an object must stay in place, make sure it does not create a sharp edge or a narrowing that forces the dog into an awkward turn. A useful aging dog home safety checklist should make the route simpler to read, not fill it with extra objects that compete for space.
Check bed entry and the route around the resting area
A comfortable bed still fails its job if the dog has trouble getting into it, standing up from it or reaching it safely. Watch the approach from more than one direction, especially if the bed sits beside furniture, a wall or a slick floor segment. Check whether a tall edge requires an awkward step, whether the bed shifts when weight reaches the edge and whether the dog has enough space to turn without bumping nearby objects. The same check applies when the preferred resting place is a couch, human bed or another elevated surface.
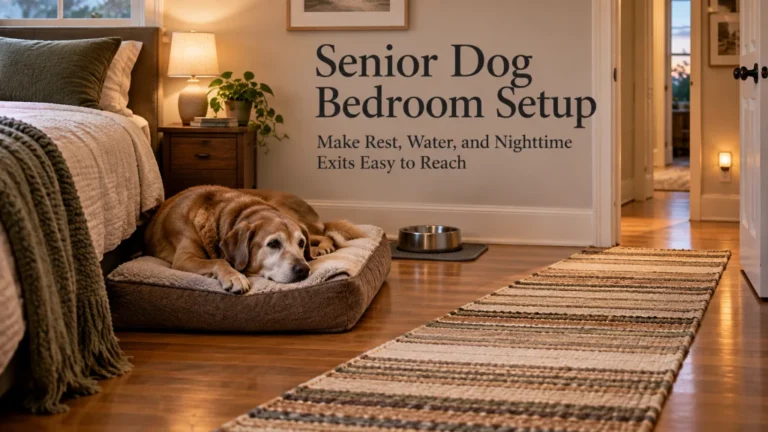
Focus first on access and stability, then on comfort features. If the resting area is becoming the main problem, the article on senior dog bedroom setup can help you evaluate the space around sleep and rest without turning this checklist into a bed buying guide. A lower entry point, a clearer approach or a more stable landing area may solve the route failure without changing every part of the room. Recheck the approach after the change so you know whether bed access improved instead of assuming the new setup solved the problem.
Check lighting on the routes the dog actually uses at night
A route that works in bright conditions can become less predictable when the house is dark or full of strong shadows. Check the path from the sleeping area to water and to the exterior door, then look for dark landings, shiny reflections, sudden contrast changes or furniture that disappears into the background. The useful question is not whether the room is generally well lit, but whether the dog can follow the same familiar path without unexpected visual gaps. Record any place where the dog slows, stops or waits for another cue only when lighting is reduced.
Use lighting to support the established route rather than constantly changing the layout around it. Small, consistent sources of light near important transitions can make the route easier to read, but the home should still remain free of cords or objects that create new obstacles. Avoid assuming that low light hesitation proves vision loss, since mobility, confidence and other changes can look similar from across the room. Record whether the problem appears only under reduced lighting or also occurs on the same route in brighter conditions, because that distinction makes the observation more useful.
Check whether vision or hearing changes make the layout less predictable
Older dogs may rely more on consistency when vision or hearing changes, so pay attention to routes that became harder after furniture, gates or household routines changed. A dog that cannot see a moved chair clearly may still navigate well when the path remains stable, while a dog that hears less may be startled when someone approaches from behind in a narrow passage. Your checklist should note the environmental pattern, such as a moved obstacle, poor contrast or an unexpected approach, rather than assigning a diagnosis. Predictability is the home safety target here.
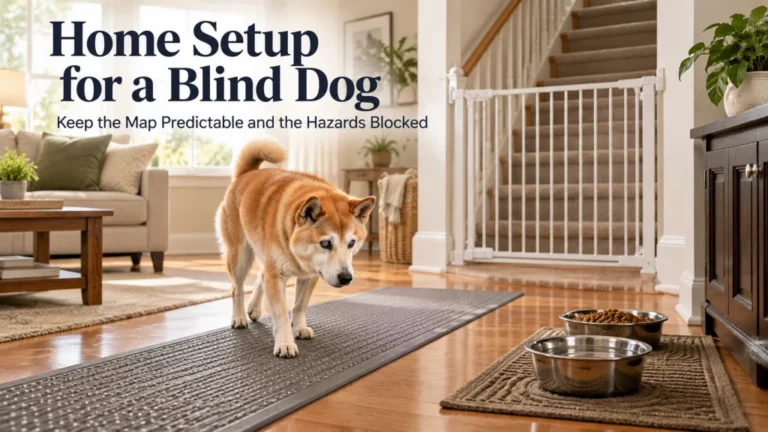
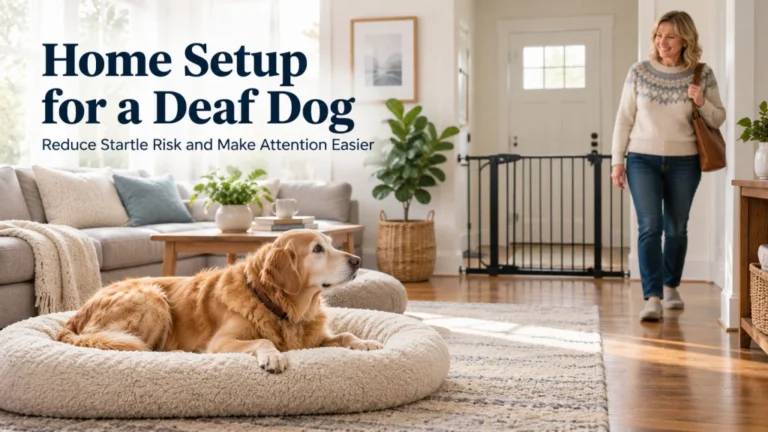
If reduced vision is already known, use home setup for a blind dog for the deeper layout decisions that follow this audit. If reduced hearing is already known, home setup for a deaf dog covers communication and environmental setup in more detail. Those pages own the sensory specific solutions, while this checklist only identifies where the current route has become confusing or unsafe. New disorientation, sudden sensory change or a major behavior change should be evaluated by a veterinarian rather than explained by aging alone.
Check whether the outdoor bathroom route is still realistic
Trace the complete path from the main resting area to the place where the dog normally eliminates, not just the final door. Count the difficult transitions along that path in practical terms: slick flooring, a high threshold, narrow steps, a steep change in grade, a long distance across the home or a door that requires the dog to wait in an awkward spot. Watch whether the dog reaches the exit comfortably and whether the return trip is equally manageable. A route can become unrealistic even when the outdoor area itself has not changed.
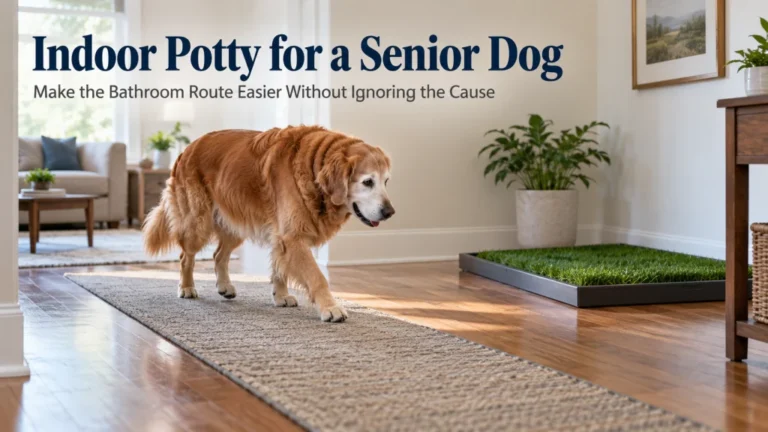
Do not use the checklist to decide that an indoor option is automatically necessary after one accident or one slow trip outside. First identify whether access is consistently failing and whether veterinary assessment is needed for a new elimination or mobility change. When outdoor access no longer works reliably and you need to evaluate an alternative setup, see the guide to an indoor potty for a senior dog. The purpose of this audit is to show that the route is failing, then hand the solution to the page that owns that decision.
Prioritize repeated failures before comfort upgrades
Once the route notes are complete, sort them by consequence and repetition instead of by which room looks least senior friendly. A repeated slip near the exterior door, uncontrolled access to a drop or a blocked route to water deserves more attention than a cosmetic comfort upgrade in a space the dog rarely uses. The smallest useful change is often the one that restores a necessary route with the least new complexity. That approach also keeps the household from buying or installing several things before it is clear which failure actually matters.
Use the table as a practical triage tool, not a medical score. The first group is for environmental problems with an immediate safety or access consequence, the second is for repeated route friction that should be corrected after the urgent items and the third is for observations that are not currently blocking a routine but are worth watching. Any new or worsening physical or sensory change can move outside this table entirely and into veterinary assessment. Home priority and medical urgency are different decisions, so keep them separate.
| Priority | Example observation | Practical response |
|---|---|---|
| Address first | Repeated slip at an essential doorway or unprotected access to a drop | Control the hazard and restore a stable route |
| Plan next | Bed entry, tight turn or threshold repeatedly slows the dog | Change the specific route feature that is failing |
| Monitor | Occasional pause without loss of access or stability | Record the context and look for a repeatable pattern |
Note: If an observation suggests a new change in mobility, pain, weakness, balance, vision, hearing, elimination or orientation, the next useful action may be veterinary assessment rather than a higher home priority label.
Recheck the home after a meaningful mobility or sensory change
A home audit is a snapshot of how the current setup works, and that picture can change as the dog, household and routes change. Recheck when you notice a meaningful difference in movement, confidence, sight, hearing, resting location or the path used to reach essential resources. Also recheck after you move furniture, add a barrier, change flooring or relocate food, water or a bed, because a modification can solve one route problem while creating another. Use the same observations each time so you are comparing like with like.
Keep a simple log that records the route, the observed failure, the change made and whether access became easier, stayed the same or created a new problem. Do not invent universal recheck intervals, since the useful trigger is a meaningful change in the dog or environment rather than a calendar rule. The log is especially useful when you need to explain a pattern to a veterinarian because it separates repeated observations from vague impressions. It also helps prevent the household from stacking multiple changes on top of one another before learning which change actually helped the route.
- Use one row for one route and one environmental change.
- Describe what the dog did instead of naming a suspected condition.
- Compare the next similar use of the route before adding another modification.
| Route or area | Observed failure | Change made | What happened on recheck? | Next step |
|---|---|---|---|---|
| ________________ | ________________ | ________________ | ________________ | Keep / adjust / assess further |
| ________________ | ________________ | ________________ | ________________ | Keep / adjust / assess further |
| ________________ | ________________ | ________________ | ________________ | Keep / adjust / assess further |
| ________________ | ________________ | ________________ | ________________ | Keep / adjust / assess further |
Keep the log descriptive. Words such as slipped, stopped, turned back, waited, bumped the corner or could not clear the threshold are more useful than labels such as weak, arthritic or confused unless a veterinarian has already established the condition. That distinction keeps the checklist within owner level observation and makes the next decision clearer. Over several entries, the log should show whether one route is improving, staying difficult or developing a different failure after the home changes.
Final Thoughts: let the checklist identify the failing route, not diagnose why it failed
The strongest checklist starts with a normal route and ends with a specific environmental problem you can describe. Bed to water, bed to door, food to family space and the bathroom route matter because they reveal whether the dog can still reach essential parts of daily life safely and predictably. Repeated slips, blocked turns, difficult level changes and confusing layouts deserve priority because they interfere with a route, not because they fit a generic picture of old age. Once the failing point is clear, you can choose the smallest modification that addresses it and avoid filling the whole house with unnecessary gear.
Keep the medical boundary equally clear. A home audit can show where movement or access changed, but it cannot tell you whether pain, weakness, vision loss, hearing loss, neurologic change or another condition caused that change. New or worsening changes deserve veterinary evaluation, while the checklist gives you concrete observations and locations to discuss. That combination keeps the house practical for the dog without turning ordinary home safety work into diagnosis.
Frequently asked questions
🐾 What should I check first in a senior dog safety checklist?
Start with the routes your dog uses to reach rest, water, food, the exterior door and family spaces. Give priority to repeated slips, blocked access, uncontrolled drops and other failures that affect a necessary route.
🏠 Do I need to make every room senior friendly?
No. Focus first on the rooms and connecting paths your dog actually uses, then correct the specific sections that repeatedly cause trouble. A targeted route change can be more useful than covering the entire home with new equipment.
🐕 Is hesitation on stairs proof that my dog has arthritis?
No. Hesitation can have several possible causes, and a home checklist cannot diagnose arthritis or another medical condition. Record where and when the hesitation happens, restrict unsafe access if needed and discuss a new or worsening mobility change with a veterinarian.
💡 Can better lighting help an older dog move around the house?
Consistent lighting can make familiar routes easier to read when low light or contrast is part of the problem. Keep the route itself stable and clear, and seek veterinary assessment for a new or significant vision concern.
🚪 What if the outdoor bathroom route has become difficult?
Trace the whole route and identify whether flooring, thresholds, steps, distance or another access point is repeatedly failing. If the change is new, consider veterinary assessment, then evaluate a different home setup only after you understand the access problem.
📝 How should I record problems during the audit?
Use observable descriptions such as slipped at the turn, stopped at the threshold or waited before the stairs. Avoid assigning a medical cause unless a veterinarian has already diagnosed it.
References and Sources
- AAHA lifestyle and safety assessment: Supports environmental hazard checks and home adaptations when mobility, vision or hearing changes affect a senior dog.
- VCA comfortable home guidance: Supports checking flooring, stairs, clutter, sleeping access, eating and drinking access and the route used for elimination.
- AKC senior dog home accessibility guidance: Supports traction, access control and predictable routes for older dogs, including dogs with reduced vision.