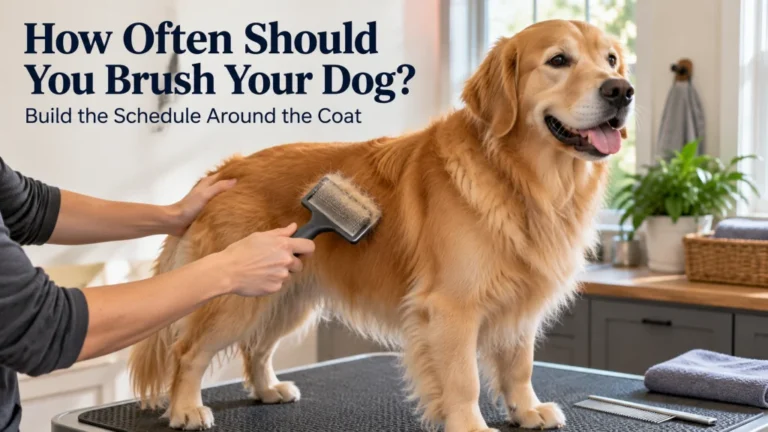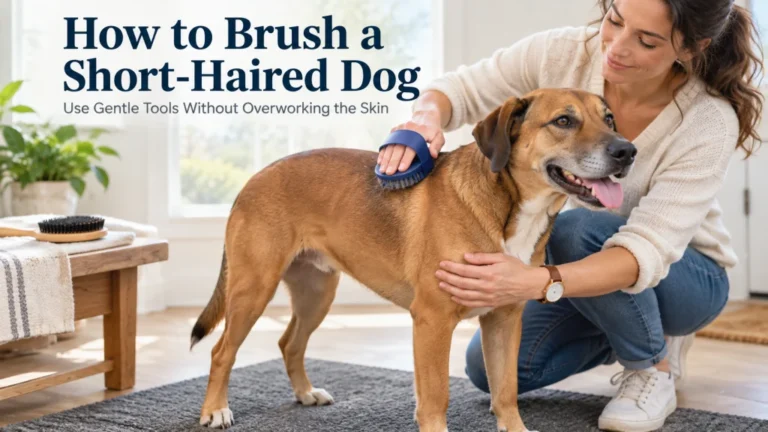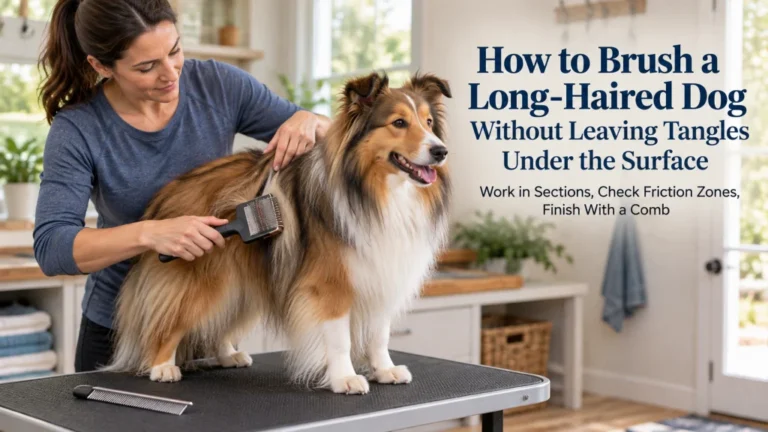
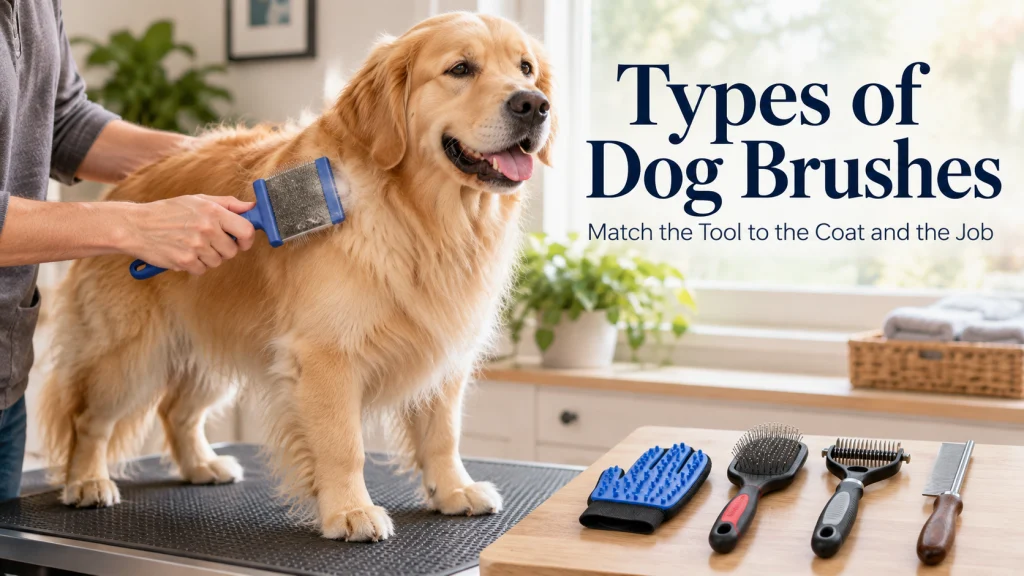
Types of dog brushes make more sense when you match each tool to coat depth and the job you need it to do. Rubber brushes and bristle brushes are often useful on short coats, while slicker brushes, pin brushes, undercoat rakes, and metal combs each solve different problems in longer, denser, or layered coats. The goal is not to own every brush style, but to build a small tool kit that reaches the coat effectively without scraping, dragging, or repeatedly irritating the skin. Brush size, pin length, coat density, and the dog’s tolerance all change which option is practical.
Name the job before choosing the brush
The right question when comparing types of dog brushes is not which brush is best. It is what job the tool needs to do in this coat. A dog with a smooth short coat may mainly need loose hair and surface debris lifted away, while a dog with a dense or curly coat may need a tool that separates hair deeper through the coat. Start with the broader home grooming routine so brushing fits the rest of coat care rather than becoming a standalone shopping decision.
If the problem is brushing technique rather than brush selection, use the step by step brushing routine to work out direction, pressure, sectioning, and handling first. Then choose among dog brush types by asking whether you are trying to lift loose surface hair, smooth the coat, separate deeper hair, reach loose undercoat, or confirm that tangles are actually gone. That task first approach keeps a soft finishing brush from being asked to solve a deep coat problem and keeps a more aggressive tool from being used where a gentler option is enough. For most households, two or three well matched tools are more useful than a drawer full of overlapping brushes.
Use rubber brushes and grooming mitts for many short smooth coats
Rubber brushes and grooming mitts are often a practical starting point for dogs with short smooth coats because their flexible teeth work near the surface instead of trying to reach through a deep coat. They can help loosen dead hair and surface dirt while giving you broad contact over the body. That makes them easier to control on areas where a stiff wire tool would add more pressure than the job requires. They are less useful when the coat is long or dense enough that the rubber teeth cannot reach the layer where loose hair or tangles are sitting.
Think of a rubber brush as a surface and loose hair tool, not as proof that the whole coat has been checked. On a dog with a short coat, you should still watch how the skin responds and reduce pressure if the dog flinches, turns toward the brush, or the skin begins to look irritated. On a dog with a thicker coat, a rubber mitt may collect hair from the outside while leaving deeper coat untouched, so the result can look more complete than it really is. If your main issue is heavy loose undercoat rather than ordinary surface shedding, move that decision into a dedicated shedding and undercoat routine instead of trying to make one surface tool do every job.
Use bristle brushes for surface debris and finishing on appropriate coats
Bristle brushes are useful when the goal is surface cleanup, loose hair pickup, and a smoother finish rather than deep separation. They are commonly suited to dogs with short coats, and they can also work as a finishing step on some other coats after deeper work has already been done. The dense field of bristles spreads pressure over a wider area, which can make the tool feel less sharp than a wire brush. That does not mean every bristle brush reaches far enough for every dog, especially when the outer coat hides a thick layer underneath.
A good test is to ask what the brush is actually changing after several passes. If it collects surface hair and leaves the coat smooth but your fingers still find dense packed areas closer to the skin, the tool is doing a finishing job rather than a depth job. That is not a failure if finishing is what you needed, but it is a poor match if the real problem is tangling below the surface. Use the least complicated tool that handles the actual task, then add a deeper tool only when the coat gives you a reason to do so.
Use slicker brushes when the coat needs deeper separation or tangle prevention
Slicker brushes use closely spaced wire pins that can reach into medium, long, dense, wire, or curly coats more effectively than many surface brushes. That makes them useful when the job is separating hair, removing loose coat, or helping prevent small tangles from building into larger ones. The same construction that gives a slicker more reach also makes pressure control important. Pressing harder does not make the brush work better if the pins are already reaching the skin, and it can make the session uncomfortable.
Choose a slicker because the coat needs that reach, not because wire looks more effective than rubber or bristle. Work in small enough sections that you can see whether the pins are moving through hair or repeatedly catching in one place, and stop pulling when resistance is firm instead of turning a tangle into a tug of war. If knots cannot be worked through comfortably with owner level brushing, the better next step is professional help rather than more force. A slicker should make the coat easier to separate, not leave the dog with repeated scratching, redness, or avoidance every time the brush appears.
Use pin brushes mainly for smoothing and lighter work on longer coats
Pin brushes have more widely spaced pins than slicker brushes and are often useful for smoothing longer coats and doing lighter general work. They can move through hair without the same dense field of fine wires, which may suit coats that need gentle organization more than aggressive loose hair removal. Their value is easiest to understand when you compare the job to the slicker: the pin brush is often the lighter smoother, while the slicker is more often the deeper separator. That distinction prevents you from expecting a pin brush to solve compact tangles simply because it looks similar to a human hairbrush.
Pin construction still matters because coat depth changes how much of the tool actually reaches the hair you want to work. Pins that are too short may skim over a deeper coat, while a large head can be awkward around a small dog, legs, or tighter body areas. You do not need the biggest brush that will fit in your hand; you need a size that gives useful coverage while keeping contact controlled. If the pin brush glides over the top and the coat below remains packed, switch tasks or tools rather than increasing force.
Use undercoat rakes only when loose undercoat is actually present
An undercoat rake is designed for dogs whose coat includes an undercoat that needs to be reached and loosened. The metal pins are designed to travel through the outer coat toward that lower layer, so the tool makes sense only when there is an undercoat job to perform. Using one on a dog without an appropriate undercoat adds metal contact without solving a real coat problem. The decision should come from coat structure and what you can actually feel in the coat, not from how much hair happens to be on the floor.
Pin length is especially important because a rake that is too short may never reach the layer you are trying to address, while a poorly matched tool can drag or catch. Use gentle passes and inspect what is coming out rather than treating volume as a score to beat. If you are dealing with ordinary shedding, coat depth, seasonal loose hair, and tool choice should be considered together instead of assuming every shedding dog needs a rake. Bladed shedding tools are a separate decision and should not be treated as harmless or necessary for every coat.
Use a metal comb to check whether brushing reached through the coat
A metal comb is useful because it can reveal whether a brushed coat is actually clear at depth or only looks smooth on the surface. After brushing a small area, pass the comb through gently from the outer hair toward the deeper coat without forcing it through resistance. If the comb stops in the same place repeatedly, you have found a section that still needs attention or a knot that should not be pulled harder. The comb therefore works as a checking tool as much as a grooming tool.
This is especially useful on longer, denser, or curly coats where the top layer can look tidy while tangles remain closer to the skin. When you need to work methodically through a deep coat, the line brushing method can help you expose and check smaller sections instead of brushing only the visible surface. The practical goal is smooth passage through the section you have already worked, not forcing a comb from skin to tip in one hard pull. If a comb cannot move through without significant resistance, slow down, change the section, or get professional help for a knot that is beyond safe home brushing.
Match the tool to coat depth and grooming job
Dog grooming brushes overlap, but they do not all solve the same problem. The easiest way to narrow the choice is to separate surface work, smoothing, deeper separation, undercoat work, and final checking. Coat depth then tells you whether the tool can physically reach the layer involved without adding unnecessary pressure. Use the matrix below as a starting filter, then adjust for your dog’s actual coat and tolerance.
| Tool | Best matched job | Common fit | Reason to skip or switch |
|---|---|---|---|
| Rubber brush or grooming mitt | Loosen surface hair and debris | Many short smooth coats | Coat is too deep for the rubber teeth to reach |
| Bristle brush | Surface cleanup and finishing | Many short coats and finishing work | You need deeper separation or tangle work |
| Slicker brush | Deeper separation, loose hair, tangle prevention | Many medium, long, dense, wire, or curly coats | Pins scratch, drag, or the job only needs surface work |
| Pin brush | Smoothing and lighter work | Many longer coats | The coat needs deeper separation than the pins provide |
| Undercoat rake | Reach and loosen actual undercoat | Dogs with an appropriate undercoat | No undercoat job exists or the rake does not match coat depth |
| Metal comb | Check depth and find remaining tangles | Longer, dense, curly, or layered coats | Resistance is too firm to comb through comfortably |
The table is not a breed chart because individual coats can vary within the same breed label, and grooming needs also change with coat condition and maintenance. Start with the job and coat in front of you, then use breed or groomer guidance as supporting context when it helps. A tool that is reasonable for one area of a dog may still be awkward on another area because body size and access change. That is why a small useful kit can include tools with clearly different roles instead of several brushes that all do roughly the same surface work.
Match pin length and brush size to coat depth and body size
Once you know the brush type, size and reach become the next filter. A brush head that is comfortable on a large body can be clumsy around a small dog, legs, chest edges, or other tighter areas where you need more control. Pin length should also make sense for the depth of the coat, because a pin that never reaches the working layer cannot do the intended job. More reach is not automatically better if the extra length makes it easier to strike the skin or harder to control pressure.
Before buying a brush, check the product information for the actual dimensions and construction rather than relying on a photo that makes every brush look similar. Compare the head size, pin length, pin spacing, tip construction, handle shape, cleaning method, and whether the maker gives any wet or dry use limits. Those details matter because two brushes with the same general label can behave differently in the same coat. If a feature does not solve a real fit, reach, cleaning, or handling problem for your routine, it does not need to be part of your kit.
- Check brush head size against the dog’s body size and the areas you need to reach.
- Check pin or tooth length against the actual depth of the coat.
- Check whether tips are designed to reduce scratching and whether damaged pins can expose sharp edges.
- Check how trapped hair is removed from the tool and whether the brush is easy to clean.
- Check any maker instructions about coat type, wet use, dry use, cleaning, or maintenance.
Use that checklist to eliminate tools that are awkward before comparing convenience features. A mechanism that releases trapped hair may save time, but it cannot fix pins that are too short for the coat or a head that is too large for controlled brushing. The basic match still comes first: job, coat depth, dog size, then convenience. That order keeps shopping features from replacing the grooming decision you actually need to make.
Stop using a tool that scratches, drags, or repeatedly irritates the skin
A brush can be the correct general type and still be the wrong match for an individual dog, coat condition, or brushing pressure. Scratching, repeated skin redness, sharp dragging, or a dog consistently trying to escape contact are reasons to stop and reassess instead of pushing through the session. First reduce pressure and check whether the pins, teeth, or edges are damaged, bent, or clogged with hair. Then ask whether the tool is reaching too deeply, being used on the wrong coat, or being asked to pull through a knot that needs a different approach.
Do not use discomfort as proof that a brush is doing a thorough job. If a tangle cannot be managed gently, or you find skin that is sore, broken, swollen, or otherwise abnormal, home brushing should stop at that boundary and the dog should be assessed by an appropriate professional. Grooming can help you notice coat and skin changes, but a brush cannot diagnose why those changes are present. The safest useful tool is the one that solves the grooming task while still allowing controlled, comfortable contact with the coat.
Build the smallest tool kit that covers the coat you actually have
Most owners do not need one of every brush style. A dog with a short smooth coat may be well served by a rubber tool for loose hair and a bristle brush if a finishing step is useful, while a dog with a deeper longer coat may need a slicker plus a metal comb for checking. A dog with a true undercoat job may add an undercoat rake, but that does not make the rake a default purchase for every household. The right kit is the smallest combination that covers distinct jobs without leaving a gap.
Keep replacement and maintenance in the decision too. Pins that bend, tips that become rough, rubber teeth that split, or handles that make controlled brushing difficult can turn a once useful tool into a poor one. Clean trapped hair from the brush so you can see its working surface and inspect it before the next session. When two tools do the same job equally well for your dog, the simpler one to control, clean, and store is usually the more practical choice.
Final Thoughts: choose by coat depth and task, not by brush count
Types of dog brushes are easier to choose when every tool has a clear job. Use gentler surface tools where surface work is enough, choose deeper reaching tools only when the coat needs them, and use a comb to verify that longer or denser coat has actually been worked through. Undercoat tools belong on coats with an undercoat task, not in every grooming kit by default. The result should be a small set of tools that you can control comfortably and explain in one sentence each.
Before buying or replacing a brush, check coat depth, body size, tool reach, pressure, and maintenance burden. If the dog’s coat changes, tangles become difficult to manage, or skin looks irritated, adjust the routine instead of assuming a stronger tool is the answer. Good brush selection is less about collecting gear and more about removing the wrong options early. That leaves you with tools that match the coat in front of you and the job you actually need to do.
FAQs
🐕 What type of brush is best for a dog with a short coat?
Many dogs with short smooth coats do well with a rubber brush, grooming mitt, or bristle brush, depending on whether the main job is loosening hair or finishing the coat. If the coat is unusually dense, check whether a surface tool is actually reaching the layer that needs attention.
🪮 What is a slicker brush for dogs used for?
A slicker brush is commonly used for deeper separation, loose hair removal, and tangle prevention in appropriate medium, long, dense, wire, or curly coats. Use light pressure and stop if the pins scratch, drag, or repeatedly irritate the skin.
🐾 Is a pin brush the same as a slicker brush?
No. Pin brushes usually have more widely spaced pins and are often used for smoothing and lighter work, while slicker brushes use a denser field of fine wire pins for deeper separation and tangle related work.
🧤 Do all dogs need an undercoat rake?
No. An undercoat rake makes sense when the dog actually has an undercoat that needs to be reached and loosened, and the pin length must match the coat depth. Dogs without that task do not need the extra tool simply because they shed.
📏 How do I know whether brush pins are long enough?
The pins need to reach the coat layer you are trying to work without making skin contact hard to control. If the brush only skims the surface of a deep coat, compare pin length and brush construction with the actual coat depth before buying a more aggressive tool.
🔎 Why use a metal comb after brushing?
A metal comb can reveal tangles or dense sections that a brush left behind, especially in longer or layered coats. If the comb repeatedly stops, do not force it through; return to gentle section work or get professional help if the knot cannot be managed safely.
References and Sources
- AKC guide to dog brush types: Supports the different roles of slicker, bristle, pin, undercoat rake, and rubber brushes, plus brush size and pin length considerations.
- AKC home grooming guidance: Supports matching brushes to coat type and keeping home grooming within a practical coat care routine.
- PetMD grooming kit guidance: Supports choosing brushes according to coat length and seeking professional help when knots cannot be managed safely at home.